
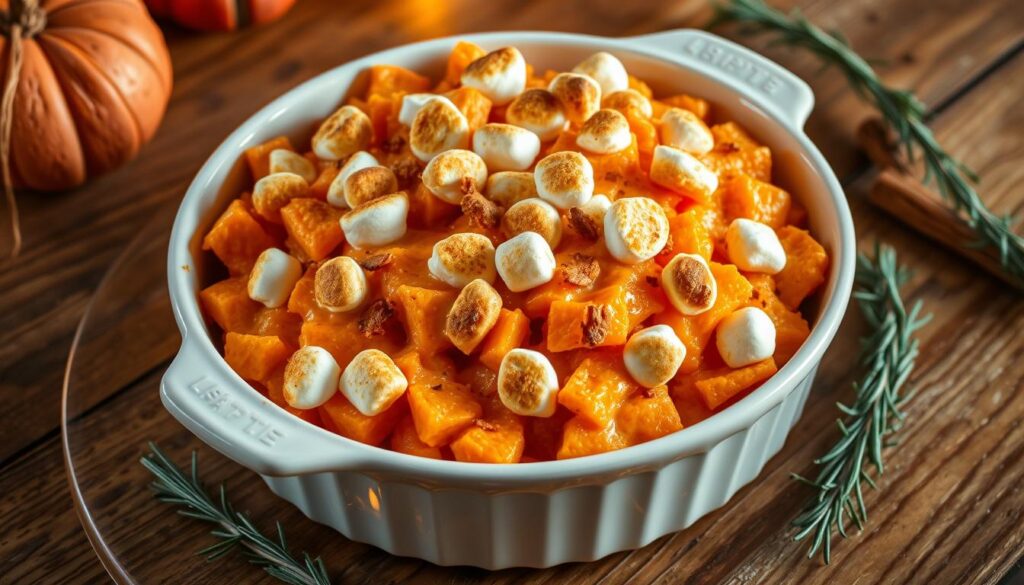
You know that warm, nostalgic feeling when a familiar aroma fills the kitchen? You may have grown up with holiday tables where a beloved sweet potato casserole sat steaming under a golden topping. This introduction is for you — the cook who wants a reliable, crowd-pleasing recipe that comforts and impresses.
This guide shows how to get mashed sweet potato and butter to sing with brown sugar, vanilla, and a dash of cinnamon. You’ll learn bake times for a 9×13-inch pan and when to add marshmallows so they toast just right without burning.
Whether you use fresh potatoes or canned yams, the steps cover peeling, cubing, draining, and tips for a creamy texture. You’ll also see topping swaps — marshmallows or pecan streusel — and make-ahead notes so the dish stays stress-free on the holiday.
Table of Contents
Make Your Holidays Brighter with an Easy, Creamy Side Dish
Plan once, bake later—you can assemble this easy sweet potato dish up to 48 hours before the meal. If chilled, set the pan out 30 minutes before baking, then heat, stir, add your topping, and finish until hot and toasty.
This method keeps your oven schedule manageable. Bake at 350–375°F for about 25–40 minutes depending on pan size and topping choice.
- Prep ahead to streamline holiday timing and scale the recipe for any crowd.
- Choose fresh or canned sweet potatoes based on time and pantry.
- Learn which ingredients add creaminess and which add structure so the filling slices neatly.
| Prep Window | Bake Temp | Best Topping Tip |
|---|---|---|
| Night before to 48 hours | 350–375°F | Tent with foil if browning too fast |
| Set out 30 minutes before baking | 25–40 minutes final bake | Add marshmallows last to toast, not burn |
| Reheat leftovers quickly | Use oven or air fryer for crisp top | Streusel can be baked separately and added later |
With simple assembly tips, this potato casserole holds well on a buffet and pairs nicely with turkey, ham, or roasted vegetables. Follow the make-ahead timing and you’ll free up your holiday morning for other tasks.
Why You’ll Love This Sweet Potato Side
When you want a side that both soothes and wows, this recipe delivers. The base is simple but comforting: mashed sweet potato blended with brown sugar, softened butter, vanilla, and a pinch of cinnamon. It bakes until warm and finishes under a crunchy topping for contrast.
Sweet meets savory with buttery mashed sweet potatoes
You get that nostalgic mix of buttery mashed sweet potatoes and warm spices that tastes like the holidays. Butter keeps the filling smooth and spoonable without getting heavy.
The toasted marshmallows and crisp pecans add texture so each bite is creamy, fluffy, and crunchy at once.
Budget-friendly, crowd-pleasing, and perfect for Thanksgiving
This dish is inexpensive and feeds a crowd, making it ideal for large Thanksgiving spreads and potlucks. Pantry staples like sugar and vanilla pull double duty to make the mash taste special.
It’s forgiving, too — adjust sweetness or spice, switch the topping, and you’ll still have a reliably delicious side that pairs well with turkey and other savory mains.
Ingredients You Need for the Sweet Potato Mixture
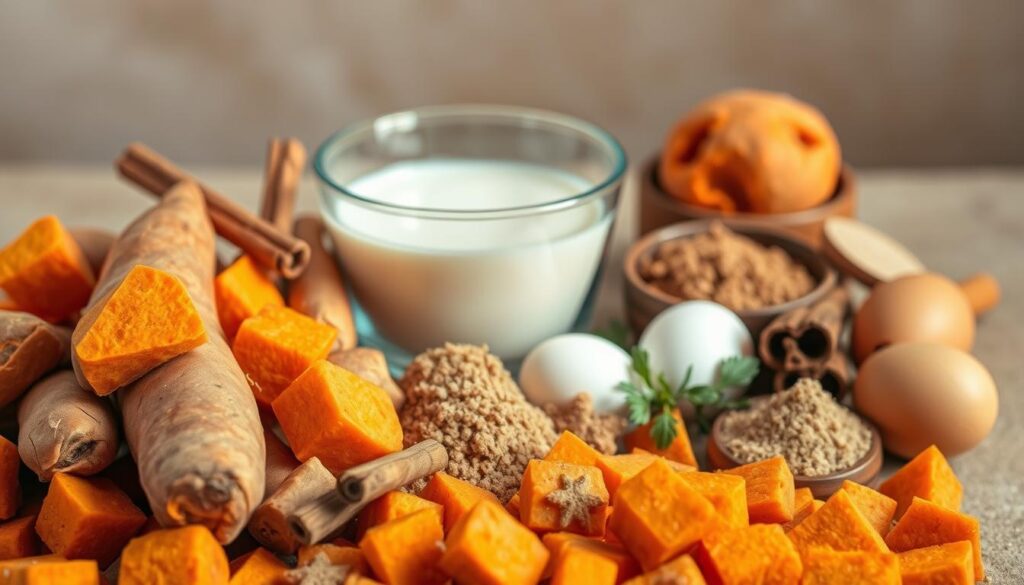
Gathering the right ingredients makes this holiday side both reliable and easy to tweak. Keep the list simple so you can adjust texture and flavor before baking.
Core produce and dairy
- 3 lb fresh sweet potatoes (or three 29-oz cans, drained well)
- 1/3–1/2 cup butter, salted or unsalted (adjust salt as needed)
- 2–4 tablespoons milk for creaminess
Flavor boosters
- 1/2–3/4 cup brown sugar (light or dark for more molasses)
- 1 tsp vanilla extract and 1/2 tsp cinnamon
- Pinch of salt to balance sweetness
Texture options
- 1–2 eggs for a firmer, custardy set (optional)
- 1/2 cup chopped pecans to fold in or reserve for topping
- A spoonful of maple syrup or a splash of bourbon for nuance
- Keep a little flour on hand for streusel; you rarely need it in the base
| Ingredient | Typical Amount | Purpose |
|---|---|---|
| Sweet potatoes | 3 lb or three 29-oz cans | Base; yields about 6–8 cups mashed |
| Butter | 1/3–1/2 cup | Adds richness and smooth texture |
| Brown sugar | 1/2–3/4 cup | Sweetens and adds caramel notes |
| Milk / eggs / pecans | 2–4 tbsp milk; 1–2 eggs; 1/2 cup pecans | Adjusts set, creaminess, and crunch |
Sweet Potato Casserole: Step-by-Step Recipe
With one pot and one bowl, you can move from stovetop to oven in under an hour. Follow these clear steps to make a smooth mash and a well-baked finish that holds together for serving.
Prep and cook the potatoes
Peel and cube the potatoes to cut boiling time. Simmer the pieces about 15 minutes until a fork slides in with no resistance.
Mash and mix
Drain well and let the potatoes cool slightly so eggs won’t scramble. Mash in a large bowl with butter, brown sugar, vanilla, cinnamon, and a pinch of salt.
Add a splash of milk for extra creaminess. Fold in beaten eggs if you want a firmer, pudding-like set.
Into the baking dish
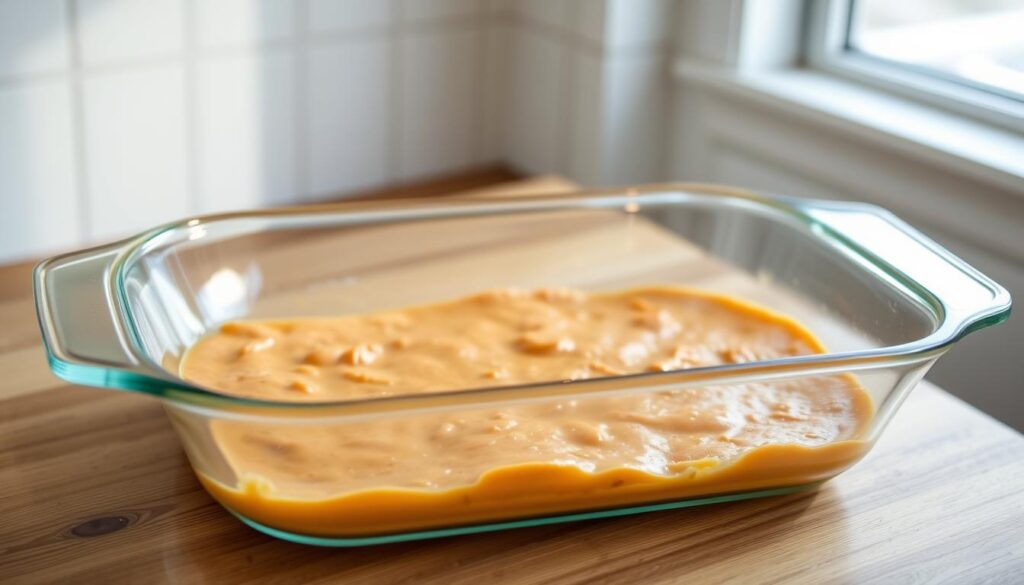
Grease a 9×13 baking dish and spread the sweet potato mixture evenly. Smooth the top so it bakes uniformly.
Bake time and temperature
Preheat the oven to 350–375°F. Bake about 25–40 minutes depending on toppings and pan size.
Look for visual cues: bubbling edges, a lightly puffed center, and a golden top. Rest a few minutes before topping or slicing.
| Step | Approx. minutes | Visual cue |
|---|---|---|
| Boil cubed potatoes | 15 minutes | Fork-tender, no resistance |
| Mash and season in a bowl | 5–10 minutes | Smooth or slightly rustic texture |
| Spread in greased dish | 3–5 minutes | Even layer for uniform baking |
| Bake in oven | 25–40 minutes | Edges bubble, top golden |
Topping Showdown: Marshmallows vs. Pecan Streusel
Deciding between pillowy marshmallows and a crunchy pecan streusel? Both create a crowd-pleasing finish, but they behave differently during baking. Your choice affects timing, texture, and how the dish reheats.
Marshmallows: when to add so they toast, not burn
Add mini marshmallows in the final 8–12 minutes of baking so they brown evenly without scorching. Use mini sizes for even coverage; jumbo pieces can melt unevenly.
If the top browns too fast, tent loosely with foil for the last few minutes. For reheating, pop a few fresh marshmallows on top and give the pan a quick oven or air-fryer blast to re-toast.
Pecan streusel: brown sugar, flour, butter, chopped pecans
For streusel, mix brown sugar, flour, and melted butter, then fold in chopped pecans. Sprinkle this crumble over the filling and bake until crisp and golden.
Consider dark brown sugar for deeper molasses notes, and toast the pecans briefly before chopping for extra crunch. Streusel holds up well for leftovers and reheats with less texture loss than marshmallows.
- Add mini marshmallows near the end so they toast instead of scorching.
- Mix brown sugar, flour, and melted butter, then stir in chopped pecans for a crunchy topping.
- Split the pan half-and-half if guests disagree: marshmallows on one side, streusel on the other.
| Topping | Best time to add | Key benefit |
|---|---|---|
| Marshmallows | Last 8–12 minutes | Instant visual appeal, nostalgic finish |
| Pecan streusel | Before full bake | Crunchy, reheats well |
| No-nut crumble | Before bake | Brown sugar-flour-butter crisp without nuts |
Fresh vs. Canned Sweet Potatoes: Which Should You Use?
One choice—fresh or canned—shapes how quickly you can get a holiday side on the table. Use fresh when you want more control over texture and flavor. Use canned when you need speed and consistency for a busy thanksgiving schedule.
Using fresh: peel, cube, boil
Peel and cut potatoes into even chunks to cut boiling time to about 15 minutes. Cook until a fork slides in easily and the pieces are fork-tender.
You can also boil whole tubers for about 20–25 minutes, then cool slightly and peel. Mash while warm for a naturally creamy base.
Using canned: drain and check labels
Drain canned sweet potatoes very well to avoid excess moisture that thins the filling. Many U.S. cans labeled “yams” are actually sweet potatoes, so check the label before you buy.
For a 9×13 pan, plan on about 3 lb fresh or roughly three 29-ounce cans, drained, to make sweet potato filling that fills the dish generously.
- Fresh: faster if cubed (≈15 minutes) or cook whole (20–25 minutes).
- Canned: quick, smooth texture—drain thoroughly to prevent watery filling.
- Taste as you go; canned brands vary in sweetness, so add cinnamon and vanilla to balance.
| Option | Time to cook | Texture & benefit |
|---|---|---|
| Fresh (cubed) | ≈15 minutes | Brighter flavor, firmer structure |
| Fresh (whole) | 20–25 minutes | Easy peel after cooking, slightly denser |
| Canned (drained) | Minimal, prep only | Smoother, faster, consistent for busy days |
Make-Ahead, Freezing, and Thawing Made Simple
Get ahead of the holiday rush by finishing this dish a day or two early. Assemble the filling and store it in the refrigerator for up to 24–48 hours. Keep any crunchy or marshmallow topping separate so textures stay crisp.
Short-term chilling
Remove the pan from the refrigerator about 30 minutes before baking. This helps the filling warm evenly once in the oven.
From chilled to hot
If you start baking from chilled, heat the dish until the center begins to soften. Stir the middle, add the topping, and finish baking another 15–20 minutes until hot and bubbly.
- Assemble up to 48 hours in advance; store the topping separately for best texture.
- Let the pan sit at room temp ~30 minutes before baking to promote even heating.
- Freeze unbaked pans without marshmallows; thaw in the refrigerator overnight.
- You can also freeze after baking; add fresh marshmallows when reheating to restore the toast.
- Plan an extra 10–20 minutes if baking from very cold; check center doneness in minutes to confirm.
- Keep the oven around 350°F to warm through without over-browning the topping.
- Label with date and topping notes so you remember the finishing steps.
| Storage Option | Timing | Bake Note |
|---|---|---|
| Refrigerate assembled | 24–48 days (1–2 days) | Remove 30 minutes before baking; finish 15–20 minutes after adding topping |
| Freeze unbaked | Up to 2 months | Thaw overnight in refrigerator, then bake and add marshmallows late |
| Freeze baked | Up to 2 months | Reheat in oven; add topping fresh for best texture |
Following these steps frees oven time on the holiday and keeps this side reliable. Use the recipe cues—assemble, chill, bake, then finish with topping—to get consistent results every time.
Storage and Reheating: Days in the Refrigerator, Minutes to Warm
A little planning after the meal helps your leftovers taste almost as good as the first serving. Store extra portions tightly covered in the refrigerator for 3-5 days to keep flavor and texture stable.
Microwave for speed
For a quick warm-up, reheat individual scoops in the microwave. Use short bursts and stir between intervals so the filling heats evenly.
If the mix seems dry, stir in a splash of milk before microwaving to restore creaminess. Keep an eye on minutes—most single servings finish in a minute or two.
Oven or air fryer to re-toast toppings
To revive the topping, add a few fresh marshmallows and finish in the oven or air fryer for a few minutes until golden. This brings back the toasted texture without overcooking the filling.
If the center remains cool, give the whole dish a few extra minutes in the oven. Cover loosely with foil if the top browns too fast during baking or reheating.
- Refrigerate leftovers in an airtight dish for 3-5 days; flavor often deepens by day two.
- Microwave individual scoops in short bursts and stir for even heat.
- Add fresh marshmallows and briefly use the oven or air fryer to re-toast the top.
- Reheat only what you’ll eat to preserve texture across several days.
- Use a small baking dish to warm larger portions evenly without overcooking edges.
| Method | Time | Best use | Notes |
|---|---|---|---|
| Refrigeration | 3–5 days | Store leftovers | Keep airtight; flavor improves by day two |
| Microwave | 1–3 minutes | Single servings fast | Stir between bursts; add milk if dry |
| Oven | 5–15 minutes | Reheat and re-toast | Add marshmallows and watch for golden top |
| Air fryer | 3–6 minutes | Quick to crisp topping | Good for small portions; check at 2-minute marks |
Pro Tips, Variations, and Equipment
A few pro moves—measured cups, the right pan, and a short rest—help you get consistent results every time. These tips cover pan sizes, tasteful swaps, and small equipment notes so your holiday side bakes evenly and slices cleanly.
Pan sizes and timing
Choose a 9×13-inch baking dish for larger groups or a 2-quart (8-inch square) dish for smaller meals. Deeper pans need more bake minutes; wide, shallow pans finish faster.
Flavor twists and measurements
Measure cups carefully so creaminess stays balanced. Use unsalted butter if you want control over salt, and add vanilla to brighten the mash.
- Swap regular sugar for dark brown sugar or a pinch of pumpkin pie spice for a festive note.
- A splash of bourbon adds warmth without masking the base flavor.
Nut swaps and no-nut options
If pecans aren’t available, use walnuts or omit nuts entirely and top with a simple crumble made from flour, butter, and brown sugar. Keep extra pecans on hand for garnish to add texture before serving.
Let it set and serving notes
Let the bake rest 15–20 minutes so slices hold. For a fluffier interior, beat the mash briefly; for chunkier texture, mash by hand.
| Pan | Approx. cups filling | Bake time (350–375°F) | Note |
|---|---|---|---|
| 9×13-inch baking dish | 6–8 cups | 25–35 minutes | Best for large gatherings; even browning |
| 2-quart (8-inch) baking dish | 3–4 cups | 30–40 minutes | Deeper pan; check center doneness |
| Two smaller pans | Split cups evenly | 25–40 minutes | Bake on separate racks; rotate halfway for even color |
Conclusion
Finish strong with a straightforward plan that keeps your holiday side reliable and stress-free.
Use about 3 lb fresh or three 29-oz cans (drained), mash with butter, brown sugar, vanilla, and cinnamon. Assemble in a 9×13 or 2-quart dish and bake 25–40 minutes at 350–375°F, adjusting for topping and pan depth.
Make this sweet potato casserole 24–48 hours ahead and refrigerate; add marshmallows in the last minutes or bake streusel until golden. Store leftovers 3–5 days and re-toast the top before serving.
Follow these casserole recipe cues and timing to scale up, reduce stress, and serve a creamy, well-textured potato casserole every time.