I still remember the quiet before dinner, the hush when you carried the main course in. You want that calm—the surety that your meal will be juicy, golden, and welcomed by everyone at the table.
This short guide gives you a clear plan. You’ll learn how much thawing time you need, why bringing the bird to room temperature helps, and how simple butter, salt, and pepper lift flavor without fuss.
Two roasting paths are explained: a classic steady-heat method and a baking-steel approach that balances breast and leg doneness. You’ll also get target temperatures so you avoid dry breast meat and underdone thighs.
Finally, you’ll see how to turn pan drippings into a smooth, savory sauce and how to rest the bird so juices settle. Follow these steps and your main course will arrive looking and tasting like a celebration.
Why this Roast Turkey with Gravy recipe works right now
Plan backward from your serving time and the whole day falls into place. When you map thawing, prep, and oven windows ahead, you avoid last-minute stress and get consistent results.
Your holiday timing made simple in the present season
Allow about 24 hours per 4 pounds in the fridge for thawing. Bring the bird to room temperature for about 1½ hours before it goes into the oven. Count on roughly 15 minutes of final prep and a 20–45 minute rest after roasting.
Juicy meat, crisp skin, rich pan sauce—what you can expect
Air circulation and smart heat management give you crisp skin and moist breast and legs. Use a V-rack over a rimmed sheet or preheat a baking steel on the lowest rack to direct heat to the legs and speed even browning.
- Use a thermometer: aim for about 150°F in the deepest breast and at least 165°F in the thighs.
- Tent with foil if the breast or drumsticks brown too fast.
- Reserve drippings and roast the neck for a quick, fortified stock to finish your gravy.
| Step | Traditional roast | Baking steel / V-rack method |
|---|---|---|
| Preheat | Hot start then lower temp | Preheat steel on lowest rack for directed heat |
| Skin result | Even browning across breast | Crispier legs and overall crisper texture |
| Timing tip | Rely on weight and thermometer targets | Shorten leg finish time, monitor breast temp closely |
Plan your timeline: thawing, room temperature, oven time, and resting
Decide the time you want to serve, then work backward to fit thawing, tempering, roasting, and resting into your schedule.
Thawing guide in the fridge
Keep the whole turkey in its original packaging and thaw it in the refrigerator. Allow at least 24 hours per 4 pounds.
Keep it chilled until about 1½ hours before roasting so it comes to room temperature evenly.
Roasting timetable and temp checks
Use 325 degrees as your baseline and follow these approximate minutes by weight:
| Weight (lb) | Approx minutes |
|---|---|
| 6–7 | 120–150 |
| 7–10 | 150–180 |
| 10–18 | 180–210 |
| 18–22 | 210–240 |
| 22–24 | 240–270 |
| 24–30 | 270–300 |
Always confirm doneness with an internal temperature reading. The thermometer is your final authority, not the clock.
Resting before carving
Build in a 20–45 minute rest after the oven. This pause stabilizes juices and gives you time to make a pan sauce.
- Start thawing days ahead and set reminders for pull-from-fridge times.
- Plan oven space and a warm-holding option if the bird finishes early.
- Write the timeline down so helpers know the next steps at a glance.
Gear and prep: from roasting pan to V-rack, baking steel, and seasoning
A little prep and the right tools make even heat and crisp skin much easier to achieve. Gather your essentials and decide how you will set up the bird before the oven heats.
Roasting setup options
You can use a traditional roasting pan with a rack for ease and drip control. It holds juices and keeps cleanup simple.
Or choose a V-rack over a rimmed baking sheet to boost airflow and expose the legs to radiant heat. That helps the bottom and legs brown faster than a high-sided pan.
Boost even heat
Preheat a baking steel or stone on the lowest rack for at least 45 minutes. The stored heat radiates upward and helps the legs and back finish without overcooking the breast.
Essentials and finishing touches
- Instant-read thermometer, kitchen twine, paper towels, and sturdy pan or rimmed sheet.
- Pat the turkey very dry, tuck wings, and tie the legs so it cooks evenly and looks neat.
- Rub softened butter under and over the skin, then season with salt and pepper; keep foil handy to tent if browning races ahead.
| Setup | Airflow | Result |
|---|---|---|
| Roasting pan + rack | Moderate | Good drip collection, even browning |
| V-rack over rimmed sheet | High | Crispier legs and underside browning |
| Foil coil or veg bed | Variable | Workable if you lack a rack |
Roast Turkey with Gravy
A few careful prep moves—drying, tucking, and buttering—set you up for even browning and juicy meat.
Prep the bird
Clear the cavity of the neck and giblets and pat the skin very dry. Dry skin helps the butter and seasoning stick and improves the final skin texture.
Tuck the wing tips beneath the body and tie the legs so the bird cooks evenly and looks tidy on the platter.
Season and butter
Massage 1–2 sticks of softened butter under and over the skin. Spread it evenly to baste the meat as it roasts and to encourage deep color.
Season generously with salt and pepper; this classic combo lifts both breast and legs and keeps flavors simple for your sauce.
Oven strategies and browning control
Choose steady 325°F roasting guided by weight, or preheat the oven very hot (for example 500°F on a steel) and then reduce heat to around 300°F for the remainder. Place turkey on a rack set in a roasting pan or use a V-rack over a rimmed sheet for better circulation.
Check color at about two-thirds of the estimated minutes. If the breast or drumstick tops color too fast, tent them lightly with foil. Confirm doneness with a thermometer in the deepest breast and thigh, then rest the bird 20–30 minutes before carving.
Make gravy from pan drippings like a pro
Transform pan drippings into a smooth, savory sauce in about 20 minutes. Start while the bird rests so you finish both at the same time.
First, brown the neck with onion, carrot, and celery. Add 1½ quarts low-sodium chicken stock and a bay leaf. Simmer until reduced to just over 1 quart, then strain and reserve the fortified stock.
Thicken and finish
Pour off excess fat and measure about ½ cup hot pan drippings. Whisk in flour to form a smooth roux.
Slowly stream in the hot stock while whisking to avoid lumps. Simmer about 5 minutes until the sauce thickens to roughly 3 cups.
Optional add-ins and seasoning
- Stir in chopped giblets or a chopped hard-boiled egg for texture.
- Add a dash of Worcestershire or soy to deepen flavor if needed.
- Adjust salt and pepper to taste and thin with a splash of broth or water if it gets too thick.
| Step | What to use | Result |
|---|---|---|
| Browning | Neck, onion, carrot, celery | Deep, savory base |
| Simmer | 1½ qt low-sodium chicken stock | Fortified stock (~1 qt) |
| Thicken | ½ cup drippings + flour | About 3 cups finished sauce |
Temperatures, doneness, and carving for juicy breast and tender legs
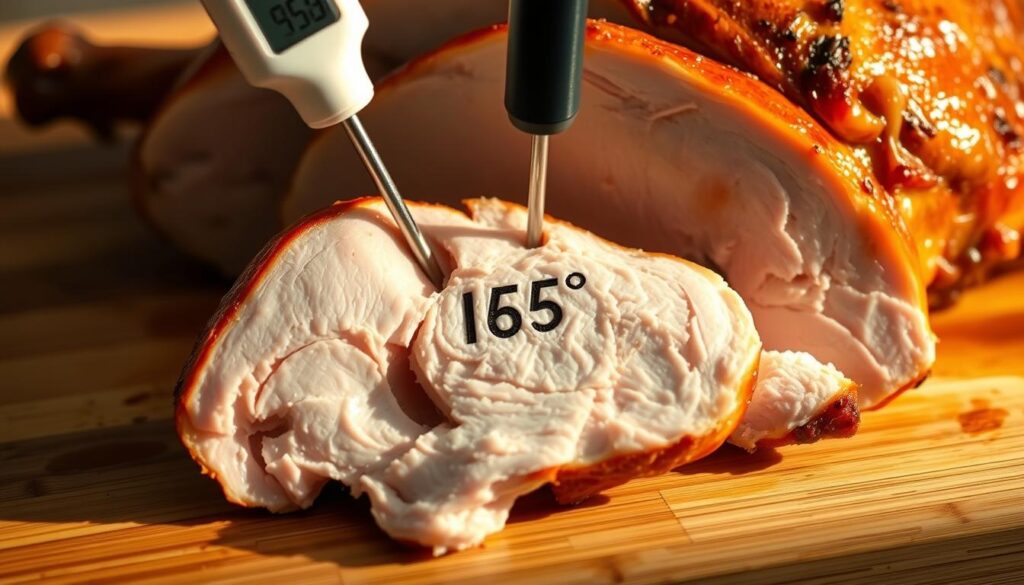
Getting internal degrees right is the most reliable way to balance moist breast meat and tender legs. Use an instant-read thermometer and check multiple spots so the thermometer—not the clock—decides doneness.
Target temperatures and oven placement
Roast until the deepest part of the breast reads about 150°F and the thighs register at least 165°F. If skin browns too fast, tent loosely with foil.
Resting and carving
Let the bird rest 20–45 minutes so juices redistribute. Place it on a warm platter and tent while you finish sauces or sides.
- Check temperature in several spots—aim for about 150°F in the thickest breast and 165°F in the leg.
- Use gentle finishing heat and a low oven rack so white and dark meat come to temp evenly.
- Remove the legs first, then slice the turkey breast crosswise into even pieces with a sharp knife.
| Step | Why it matters | Tip |
|---|---|---|
| Thermometer checks | Prevents overcooking | Test both breast and thigh |
| Resting | Keeps meat moist | Tent lightly for 20–45 minutes |
| Carving order | Better presentation | Legs off first, then breast slices |
Serve it now and enjoy it tomorrow
Bring the carved bird to the table warm and arranged so everyone can help themselves. Arrange slices of turkey breast and sections of legs and thighs on a heated platter. Pass a bowl of hot gravy on the side so each guest can add sauce as they like.
Platter presentation
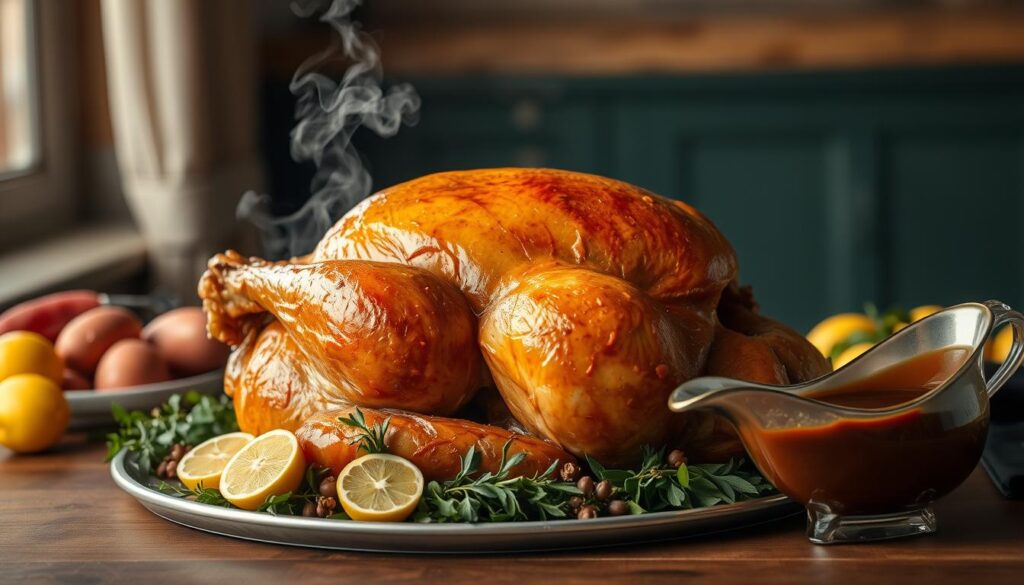
Group breast slices in even rows and place leg pieces nearby for easy reach. Garnish with herb sprigs and citrus wedges for color and a light aroma.
Leftovers and next-day plans
Cool leftovers quickly and pack in shallow containers so they chill fast and stay safe. Use trimmings and bones to simmer a simple stock for soups or sauces later in the week.
- Reheat slices gently in a covered pan over low heat with a splash of broth or water to keep meat moist.
- Build quick next-day recipes: sandwiches, melts, or grain bowls using roasted turkey pieces.
- Keep gravy warm and whisk in a little stock or water if it thickens after chilling.
- Label and date containers so you use leftovers at their best the next day.
| Action | Why it helps | Quick tip |
|---|---|---|
| Serve on warm platter | Maintains temp and presentation | Heat pan briefly, then place cloth under platter |
| Reheat gently | Prevents drying | Low heat, covered pan, splash of broth |
| Simmer bones for stock | Turns scraps into new meals | Add carrot, onion, and 8 cups water to simmer |
Conclusion
With good airflow, steady heat, and a short rest, you’ll serve moist breast and tender legs every time. Use a roasting pan or a V-rack over a rimmed sheet so the bottom browns and the skin crisps evenly.
Trust your thermometer, aim for about 150°F in the breast and 165°F in the thighs, and tent with foil if color races ahead. Pat the bird dry with dry paper, rub in butter, and season with salt and pepper for clean flavor.
While the bird rests 20–45 minutes, make a quick stock from the neck and whisk pan drippings with a little flour and warm broth to make gravy. With the pan, rack, and oven set, and time on your side, this recipe becomes a repeatable plan for thanksgiving and any holiday roast turkey dinner.