
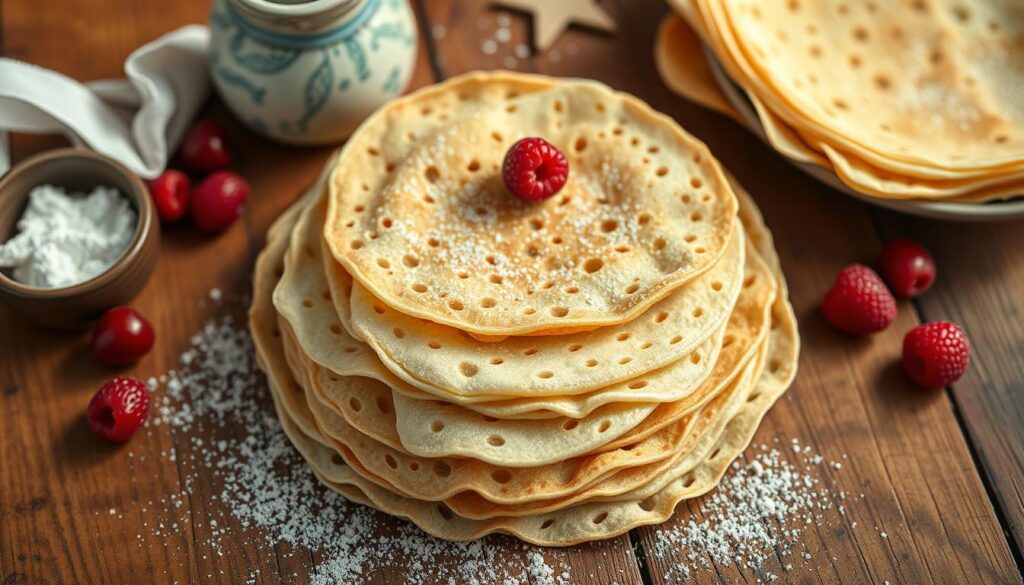
Ever stood at the stove, craving a warm, thin crepe? But worried a gluten sensitivity would ruin it? I felt a small victory when I first flipped a homemade gluten-free crepe recipe. It was light, tender, and perfect for sweet berries or savory fillings.
This easy gluten free crepe recipe needs just seven basic ingredients. You’ll use a blender for a smooth batter. Rely on trusted blends like Bob’s Red Mill Gluten Free 1-to-1 or King Arthur Measure for Measure for consistent results.
Melt butter, add milk and water, and blend with eggs and dry ingredients. This creates a batter that rests, chills, and cooks quickly in a nonstick pan.
Try a coconut-flour variation for a low-carb option or stick with the all-purpose mix for a classic texture. These tips help you make a homemade gluten free crepe that’s fluffy, flexible, and delicious. Keep the batter chilled for an hour if you can. Use fresh baking powder for lift, and swirl the pan to spread the batter thin for perfect, golden crepes.
Jump to RecipeTable of Contents
Introduction to Gluten-Free Crepes
Gluten-free crepes are like French crepes but without wheat. They offer a thin, flexible base for both sweet and savory fillings. You can make them at home using gluten-free flour blends from brands like Bob’s Red Mill or King Arthur. These blends help keep the crepes tender by resting the batter.
What Are Gluten-Free Crepes?
Crepes are very thin pancakes that are easy to fold. A gluten-free version uses rice flour, almond flour, or a gluten-free mix instead of all-purpose flour. For low-carb or paleo options, you can mix coconut flour with tapioca starch. Use dairy-free milks like unsweetened almond, coconut, or soy for those who avoid lactose.
Blending the batter until smooth makes the crepes delicate and pliable. This texture is perfect for breakfast, brunch, or dessert. Fill them with fruit, nut butter, or even savory ingredients like smoked salmon and herbs.
Benefits of Going Gluten-Free
Gluten-free crepes are great for those with celiac disease or gluten sensitivity. They remove wheat from the mix, allowing you to enjoy breakfast favorites without discomfort.
Gluten-free cooking opens up new possibilities for your menu. You can have a reliable gluten-free breakfast idea that tastes just as good as pancakes. Using high-quality flours and fresh leavening ensures the crepes rise well and stay tender.
Essential Ingredients for Gluten-Free Crepes
Choosing the right ingredients is key for a great gluten-free crepe. You can use a gluten-free all-purpose mix for a consistent texture. Bob’s Red Mill Gluten Free 1-to-1 Baking Flour and King Arthur Measure for Measure are good swaps for all-purpose flour.
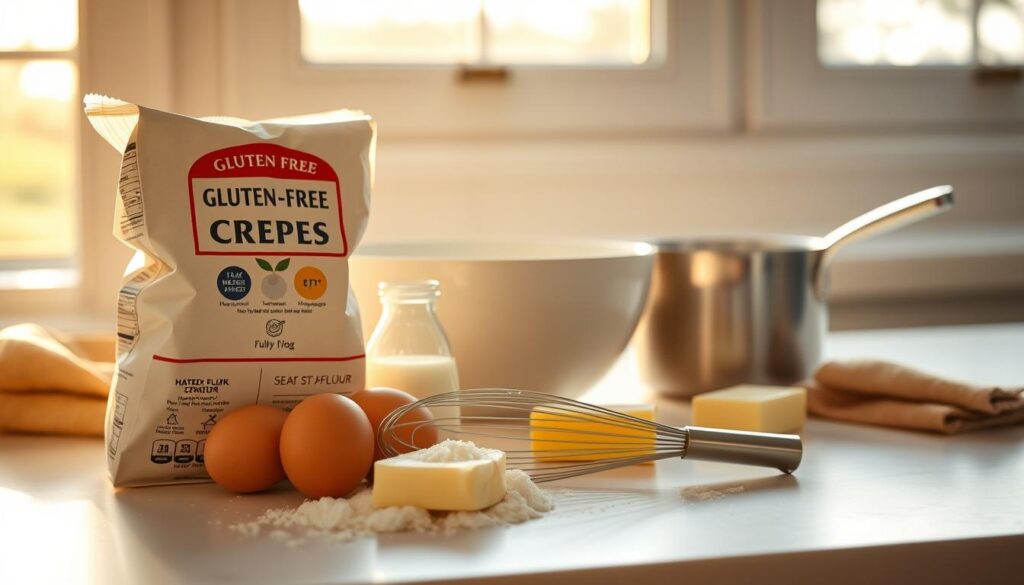
Fresh baking powder is essential for lift. Eggs bind and add structure. Salt enhances flavor, and a bit of sugar adds sweetness for sweet fillings. Use 2% milk for a classic taste, or almond or coconut milk for a healthier option.
Flour Options: Almond, Rice, and More
Almond flour adds a nutty taste and tender crumb but can make crepes fragile. Mix almond flour with tapioca starch or arrowroot powder for more stretch and elasticity.
Rice flour blends have a neutral flavor. For a paleo-style crepe, mix coconut flour with tapioca starch. Coconut flour absorbs liquid quickly, so rest the batter for 10 minutes. Coconut-based mixes work well for low-carb versions.
| Flour Type | Texture | Best Use | Notes |
|---|---|---|---|
| Bob’s Red Mill 1:1 | Light, consistent | All-purpose substitute | Easy swap for classic crepe recipes |
| King Arthur Measure for Measure | Fluffy, reliable | Fluffier crepes | Performs like all-purpose flour |
| Almond Flour | Tender, slightly crumbly | Nutty crepes, keto options | Combine with starch for strength |
| Coconut Flour + Tapioca | Firm, absorbent | Low-carb, paleo | Rest batter 10 minutes; adjust liquids |
| Rice Flour Blends | Neutral, slightly grainy | Neutral-flavored crepes | Good in combos for balanced texture |
Lactose-Free and Vegan Alternatives
Butter adds flavor and helps release crepes. Use neutral oil or vegan spreads for a dairy-free option. Plant milks like oat or almond make the batter smooth and healthy.
For vegan cooking, use flax or chia “eggs” as binders. Replacing eggs and wheat changes the texture. Treat each flour choice as an experiment and adjust as needed.
Step-by-Step Guide to Making Crepes
Starting with a solid plan is key to making a great homemade gluten free crepe. Read through the batter tips and cooking techniques before you start. This saves time and makes the process smoother.
Preparing the Batter
Melt 2 tablespoons of butter and mix in milk, water, and vanilla. For a smooth batter, blend dry ingredients, liquids, and eggs in a blender briefly. This method helps avoid lumps and ensures an even texture.
If using coconut flour, whisk eggs first. Then add dairy-free milk, melted coconut oil, and vanilla. Stir in coconut flour, tapioca starch, and salt. Let it rest for about 10 minutes to thicken.
For other gluten free flours, sift dry ingredients. Make a well, add wet ingredients, and whisk until smooth. Wait five minutes to let the flour absorb liquid. Add 1–2 tablespoons of extra liquid if needed.
Chill the blended batter for at least one hour in the fridge. Resting it for up to two days in an airtight container improves consistency and texture. This small step can make a big difference in your crepes.
Cooking Techniques for Perfect Crepes
Heat an 8-inch nonstick pan over medium-low heat. Brush it lightly with butter or coconut oil for flavor. Pour about 2 tablespoons of batter into the center and swirl the pan to spread it evenly.
Watch for edges and bubbles. Cook until edges set and small bubbles appear, about three to four minutes. Then, flip and cook one to two minutes more until the other side is golden brown. Use a small pan to make flipping easier and keep crepes thin.
If the outside browns too fast while the inside is still wet, lower the heat. Keep the pan well-seasoned or use a quality nonstick skillet or electric crepe pan. Brushing a little butter on the pan edges helps prevent sticking during the first turn.
| Step | Action | Tip |
|---|---|---|
| Mixing | Blend wet and dry ingredients for a smooth batter | Use blender to avoid lumps; rest batter for 1 hour |
| Coconut Flour Option | Whisk eggs and liquids then add dry ingredients | Rest 10 minutes for absorption; adjust thickness |
| Pan Prep | Heat 8-inch nonstick pan, brush with oil or butter | Small pan size helps with thin crepes and flipping |
| Pouring | Use 2 tbsp batter and swirl to spread thin | Keep batter thin for true crepe texture |
| Cooking | Cook until edges set and bubbles form, then flip | Reduce heat if outside browns before inside cooks |
| Storage | Refrigerate batter up to 48 hours in airtight container | Rest improves texture for every gluten free crepe recipe |
Flavor Variations for Gluten-Free Crepes
These crepes are great for both sweet and savory dishes. You can make a delicious gluten-free crepe with coconut flour or a rice-and-almond blend. They’re perfect for a healthy breakfast or a light dinner.
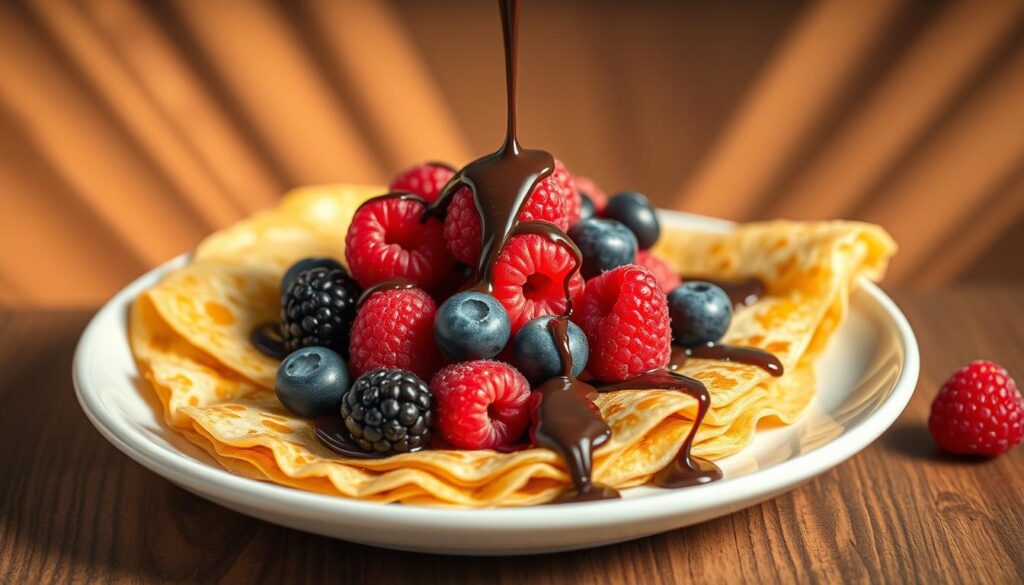
Sweet treats feature fruit and creamy toppings. Try fresh berries with coconut whipped cream for a bright crepe. For a classic taste, spread hazelnut chocolate and sliced banana.
For a fancy dessert, stewed spiced plums with yogurt or sweetened mascarpone with sliced pears and toasted hazelnuts are great. These options add a touch of elegance.
For breakfast, layer crepes to make a crepe cake. Use whipped cream and strawberry sauce for a stunning brunch. Adding mini chocolate chips to the batter adds fun without losing the crepe’s lightness.
Savory crepes make for a satisfying meal. Fill them with spinach and goat cheese for a tangy bite. Or, try shredded chicken or wilted spinach with ham and Swiss for a heartier option.
For a quick lunch, spread hummus and add crunchy veggie sticks. You can roll or fold these crepes into elegant triangles. Top with a small spoon of chimichurri or a smear of Greek yogurt for freshness.
| Flavor Type | Suggested Fillings | Best Flour Match | Serving Idea |
|---|---|---|---|
| Sweet Classic | Fresh berries, whipped cream, jam | Coconut or rice flour | Stacked crepe cake with strawberry sauce |
| Decadent Dessert | Hazelnut spread & banana, ice cream | Almond flour blend | Warm with a dusting of powdered sugar |
| Fruit & Cream | Mascarpone, pears, toasted hazelnuts | Coconut + almond mix | Folded and served with espresso |
| Light Breakfast | Yogurt, stewed spiced plums, apple sauce | Rice flour blend | Paired with a green smoothie |
| Savory Classic | Spinach & goat cheese, ham & Swiss | Almond or mixed GF flour | Folded into triangles, served warm |
| Portable Lunch | Hummus, veggie sticks, shredded chicken | Rice or oat-based flour | Rolled for on-the-go eating |
Tips for Perfecting Your Crepe Technique
Getting good at making crepes makes cooking gluten free easier. A few tweaks in batter rest, pan choice, and heat can turn a bad attempt into a great crepe. Follow these tips to make a homemade gluten free crepe that looks and tastes amazing.
Common Mistakes to Avoid
Use a high-quality nonstick skillet or an electric crepe pan to avoid a sticky pan. Lightly brush butter or oil on the pan edges before pouring batter. This helps the batter spread evenly and release cleanly.
Don’t skip the swirl. Pour a small amount of batter and tilt the pan quickly to spread it thin. Pouring too much batter makes thick crepes that are hard to flip and look like pancakes.
Don’t flip too early and keep your heat low. High heat causes uneven cooking and tearing. Wait until the edges set and small bubbles form before flipping.
Let the batter rest for at least an hour. This improves the texture. If you make batter ahead, store it airtight in the fridge to keep the flavor and structure.
Coconut flour crepes are fragile. Use low heat, a small 8-inch pan, and oil the pan lightly between crepes. When needed, use two spatulas to lift and support the crepe while flipping.
Check your leavening. Fresh baking powder adds lift. If your baking powder is older than nine months, replace it to keep crepes light and fluffy.
Best Tools for Creating Crepes
Choose reliable tools to make gluten free cooking easier. A blender creates a silky, lump-free batter in seconds. A nonstick skillet or an electric crepe pan gives consistent surface heat and easy release.
Use an 8-inch pan for easier control and flipping, which is important when adapting pancake techniques. A pastry brush or a clean paper towel helps apply an even film of butter to the pan edges.
Keep spatulas handy. One thin spatula can slide under the crepe, while a second spatula supports fragile batters like coconut flour. Measuring cups and spoons keep ratios accurate. A sifter helps when you mix Bob’s Red Mill 1:1 or King Arthur Measure for Measure for dependable results.
| Tool | Why it helps | Tip for use |
|---|---|---|
| Blender | Makes smooth, lump-free batter quickly | Pulse briefly, then let batter rest 5–60 minutes |
| Nonstick skillet / Electric crepe pan | Even heat and simple release surface | Preheat on medium-low and test with a drop of batter |
| 8-inch pan | Easier control and flipping for thin crepes | Smaller surface keeps crepes manageable |
| Pastry brush or paper towel | Applies thin layer of butter to pan edges | Re-oil lightly between crepes to prevent sticking |
| Spatulas (one or two) | Lifts and supports fragile crepes | Use two for delicate coconut flour crepes |
| Measuring cups, spoons, sifter | Ensures accurate ratios and fine dry ingredients | Sift flours when adapting pancake recipes for consistent texture |
By following these practical tips, you’ll make a consistent easy gluten free crepe every time. With the right tools and a few smart habits, a homemade gluten free crepe becomes a reliable gluten free pancake alternative for breakfast or dessert.
Storing and Reheating Gluten-Free Crepes
Keep your crepes tender and ready with simple storage and reheating steps. A well-stored batch helps you enjoy a homemade gluten free crepe as a quick gluten free breakfast idea or a healthy gluten free crepe snack later in the week.
Proper Storage Techniques
Let cooked crepes cool on a nonstick surface before stacking to prevent tearing. Place layered crepes between sheets of parchment or paper towels and store flat in a zip-top bag or airtight container. This keeps a homemade gluten free crepe from drying out.
Refrigerate cooked crepes for up to three days. For batter, keep it in an airtight jar or container for 1–2 days; chilled batter often yields a smoother, more tender result when you cook more crepes later.
If you make a coconut-flour batch that yields 12–15 crepes, refrigerate extras for later use. For longer storage, freeze crepes in stacks separated by parchment. Freeze up to three months and label the container for easy meal planning.
How to Reheat Crepes without Losing Quality
Thaw frozen crepes overnight in the refrigerator before reheating. Reheat gently in a nonstick skillet over low heat. Flip once and warm until just heated through to preserve tenderness.
For microwave reheating, place crepes on a plate, cover with a damp paper towel, and heat in 30–45 second intervals. A splash of water restores moisture and prevents toughness when you reheat a healthy gluten free crepe rapidly.
To reheat several crepes at once, use an oven set to low heat. Arrange crepes in a single layer on a baking sheet, cover with foil, and warm for 5–10 minutes. The oven method works well when serving a warm gluten free breakfast idea for guests.
| Item | Storage Method | Max Refrigeration | Freezing | Best Reheat Method |
|---|---|---|---|---|
| Batter | Airtight jar or container | 1–2 days | Not recommended for all batters | Bring to room temp, stir gently |
| Cooked crepes | Stacked with parchment in zip-top bag or container | Up to 3 days | Up to 3 months (stacked with parchment) | Skillet on low or microwave with damp towel |
| Coconut-flour crepes | Airtight container in fridge | 3 days | Yes, up to 3 months | Skillet on low heat for gentle warming |
| Single-serve reheating | Plate with damp paper towel | Use within 3 days | Thaw overnight then reheat | Microwave 30–45 sec or skillet briefly |
Conclusion: Enjoying Your Gluten-Free Crepes
Now you know the basics of making gluten-free crepes. You can make them a staple for breakfast or brunch. The batter gets better after chilling, making it perfect for busy mornings.
Using a reliable 1:1 gluten-free flour blend ensures consistent results. Coconut flour or almond flour can add a sweet or nutty flavor.
Serving Suggestions to Impress
Make your crepes stand out by layering them with fresh berries and coconut whipped cream. Or, serve savory ones with spinach, goat cheese, ham, and Swiss. Choose your flour based on the filling you prefer.
Serve warm with powdered sugar or maple syrup for a special touch. This turns a simple crepe into a memorable dish.
Encouragement to Experiment with Recipes
Think of crepes as a versatile gluten-free pancake option. Try different flours from Bob’s Red Mill or King Arthur. Keep baking powder fresh for the best results.
Rest the batter to improve its texture. Adjust the liquid for the right consistency. Explore various fillings and freeze extras for a quick breakfast. With practice, making gluten-free crepes will become easy and enjoyable.
FAQ
What is a gluten-free crepe and how does it differ from a regular crepe?
Which gluten-free flours work best for versatile, tender crepes?
Can I make crepes dairy-free or vegan?
What’s the easiest gluten-free crepe batter method for smooth results?
How do I cook crepes so they’re thin and not sticky or torn?
Do I need to rest the batter? How long can I store it?
What common mistakes should I avoid when making gluten-free crepes?
How many crepes will a batch make and how long do they keep?
How should I reheat leftover crepes without drying them out?
What sweet and savory fillings work best for gluten-free crepes?
Can I use the same techniques from gluten-free pancakes when making crepes?
Which kitchen tools make gluten-free crepe-making easier?
How can I adapt recipes for low-carb or keto diets?
Are there quick tips to make crepes ahead for busy mornings?
If you enjoyed this Recipe, don’t miss our other delicious desserts on Here — you’ll find easy ideas, tips, and inspiration for every occasion. For more festive recipes and global favorites, check out WhatForDinner.com and discover what everyone’s cooking next!
Gluten-Free Crepes
Equipment
- Blender or mixing bowl + whisk
- Non-stick skillet (8-inch recommended)
- Spatula
- Brush or paper towel for oil/butter
Ingredients
- 1 cup gluten-free 1:1 flour blend
- 2 large eggs
- 1 cup milk or plant milk
- 1/2 cup water
- 2 tbsp melted butter or oil
- 1 tsp baking powder
- Pinch of salt
- 1 tsp vanilla optional
Instructions
- In a blender, add eggs, milk, water, melted butter, gluten-free flour, baking powder, salt, and vanilla.
- Blend until completely smooth.
- Let the batter rest for 10–30 minutes (recommended for better texture).
- Heat a non-stick skillet over medium-low heat. Lightly grease the pan.
- Pour about 2 tablespoons of batter into the center and quickly swirl the pan to spread it thin.
- Cook for 2–3 minutes until the edges lift and the bottom is lightly golden.
- Flip and cook the other side for 1–2 minutes.
- Repeat with remaining batter, lightly greasing as needed.
- Serve warm with your favorite sweet or savory fillings.