
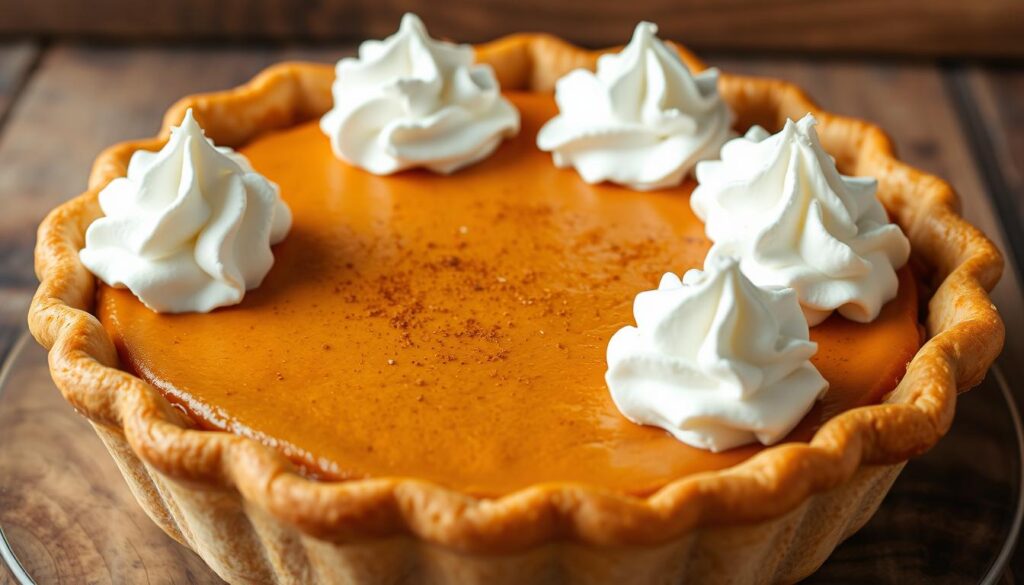
You remember a kitchen that smelled like cinnamon and warm sugar. You want that comfort again, and this recipe helps you get there without fuss.
This recipe makes a silky custard filling and a flaky crust you can pull from pantry staples. You whisk pumpkin puree with heavy cream, granulated and light brown sugar, then add eggs last so the surface stays smooth.
Start by preheat oven to 425°F to set the edges, bake for 15 minutes, then lower to 375°F to finish. The center should still jiggle slightly; a toothpick two inches from the edge should be clean when done.
Let the tart cool to room temperature, then refrigerate overnight for cleaner slices and deeper flavor. You can use a 15-ounce can or 1 3/4 cups homemade puree without changing timing.
Why This Pumpkin Pie Works Right Now
You’ll get reliable texture and clean slices by pairing a quick high-heat start with a cooler finish. A 15-minute blast at 425°F, then lowering the temperature, helps the custard set at the edges and reduces cracking as it finishes.
This recipe uses pantry-friendly ingredients and a clear oven routine so results stay consistent, even during busy holidays. Canned puree gives steady moisture and flavor, while steaming and sieving fresh squash yields a similar consistency when you have time.
Follow USDA guidance: cool briefly at room temperature, then refrigerate within two hours. Chilling overnight firms the filling and makes slicing neater. You can also make the dessert a day or two ahead to ease day-of baking.
- Flexible crust options: homemade or store-bought pie crust work well.
- Visual cues—slight jiggle at the center—help across different ovens.
- Simple spice balance keeps the filling bright without overpowering the base.
| Aspect | Canned Puree | Homemade Puree |
|---|---|---|
| Consistency | Uniform, dependable | Smoother if steamed and sieved |
| Prep time | Minimal | Longer (steam + strain) |
| Best use | Weeknight or holiday shortcut | When flavor control matters |
Ingredients for the Best Pumpkin Pie Filling
Start by gathering exact amounts so your filling bakes with consistent texture. Use one 15-ounce can of pumpkin or 1 3/4 cups homemade pumpkin puree for the same results.
Pumpkin Choices and Measurement
Choose canned pumpkin for convenience or homemade pumpkin for a from-scratch flavor. Measure 1 3/4 cups of puree whether you use a can or fresh squash so the filling sets reliably.
Dairy, Sugars, and Eggs
Use 3/4 cup heavy whipping cream — not sweetened condensed milk — to get a lush, ultra-creamy custard. Combine 1/2 cup granulated sugar with 1/3 cup light brown sugar to add depth without excess sweetness.
Whisk in 3 large eggs last to set the filling without overmixing. Stop when the mixture is smooth and barely combined to avoid air that causes cracks.
- Spices: 1 1/2 teaspoons cinnamon, 1/2 teaspoon ginger, 1/4 teaspoon ground cloves, 1/4 teaspoon fine sea salt, and 1 teaspoon vanilla.
- You can bloom spices briefly on the stove with the puree to deepen flavor and reduce extra moisture.
- Keep the crust in mind: a denser filling will help clean slices and hold the crust’s structure.
| Ingredient | Amount | Purpose |
|---|---|---|
| Pumpkin puree | 1 3/4 cups | Base of filling; consistent moisture |
| Granulated + brown sugar | 1/2 cup + 1/3 cup | Sweetness and caramel depth |
| Heavy cream | 3/4 cup | Silky, rich texture |
Pie Crust Options: Homemade Pie Crust or Store-Bought
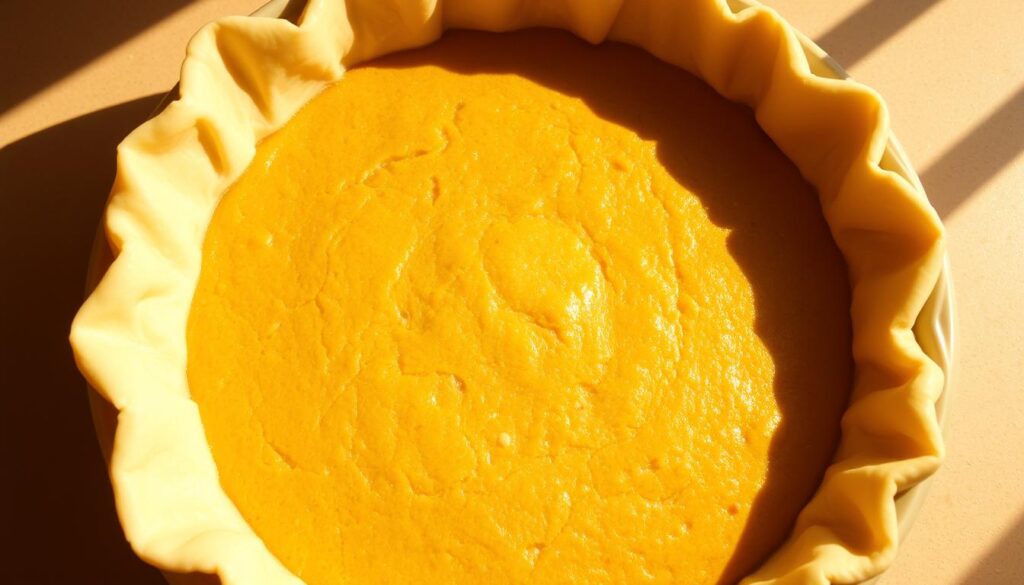
A single-crust 9-inch shell is the easiest starting point for this dessert. You can use a homemade butter pie crust for flake and flavor or reach for a quality store-bought shell to save time.
Homemade Butter Pie Crust Tips
Keep the dough cold and avoid stretching it into the pan. A relaxed fit reduces shrinkage and keeps edges neat.
Chill the shaped crust before filling to lock in layers. Crimp edges high enough to hold the custard and brush lightly with cream or egg wash for a bronzed finish.
Blind Bake or Not? How to Decide
Some bakers skip pre-baking to preserve a tender meeting of crust and filling. Others par-bake to prevent a soggy bottom, especially with a homemade crust.
If you blind bake, dock the dough or use weights to stop puffing. Cool the shell just enough, then fill immediately so the hot crust bonds with the custard.
- Place the pie plate on a preheated sheet pan for even bottom browning.
- Choose metal for crispness or glass for visibility of browning.
- Follow a simple pie crust recipe when making your own to ensure consistent texture.
| Shell Type | Best When | Result |
|---|---|---|
| Homemade butter crust | Flavor and flake matter | Richer, flakier crust |
| Store-bought shell | Time is limited | Convenient, consistent |
| Par-baked shell | Worried about soggy bottom | Firmer base, crisper edge |
Pumpkin Pie
Get your oven hot and your workspace ready—this method locks in a creamy filling and keeps the crust crisp. Follow a clear sequence and a short temperature trick to avoid overbaking and cracks.
Preheat and temperature strategy
Preheat oven to 425°F to set the edges quickly. After 15 minutes at this high temperature, reduce to 375°F to finish the bake. This two-step temperature keeps the crust from becoming soggy and helps the custard set evenly.
Whisking order and technique
Whisk the puree with sugar, cream, vanilla, and spices until smooth. Add the eggs last and fold them in gently to avoid trapping air. Less air reduces cracking during baking.
Pouring, tapping, and baking times
Pour the mixture into the shell, tap the bowl, then tap the filled plate on the counter to pop bubbles. Bake following the minutes above and watch movement in the center rather than relying only on time.
Doneness and cooling
The top should look set and slightly shiny while the center jiggles like soft gelatin. A toothpick two inches from the crust should come out clean. Cool completely at room temperature, then chill for a few hours or overnight for the cleanest slices.
| Stage | Temp | Minutes |
|---|---|---|
| Initial blast | 425°F | 15 |
| Finish | 375°F | 35–45 |
| Chill | Refrigerate | Hours / overnight |
Expert Tips to Avoid Cracks and Get a Silky Custard
A few careful steps will help you achieve a glassy top and creamy interior every time. These tweaks focus on how you handle the filling and manage heat so the surface stays smooth and the texture remains stable.
Add eggs last and don’t overbeat
Whisk the base until smooth, then add the eggs last. Stir just until combined to avoid trapping air that causes fissures on the surface.
Bloom spices and reduce moisture on the stove
Gently cook the puree with ground cinnamon, ginger, and cloves for about five minutes. That drives off extra water and deepens flavor, giving a firmer pumpkin pie filling.
- Use two oven temperatures: start high, then lower to finish so the custard sets without puffing.
- Bump the bowl and tap the filled crust to pop air pockets for a glassy top.
- Watch the delicate jiggle in the center; remove early and let carryover heat finish the bake.
- Shield the crust rim if it browns faster than the filling to keep even color.
- Accept tiny edge cracks—they often settle as the tart cools and retain good texture.
| Action | Why it helps | Result |
|---|---|---|
| Add eggs last | Reduces air in the mixture | Smoother surface, fewer cracks |
| Cook filling briefly | Evaporates excess moisture | Denser, less watery filling |
| Two-stage baking | Controls rise and finish | Even set and reliable texture |
Canned vs Homemade Pumpkin Puree: Flavor, Texture, and Time
Deciding between store jars and from-scratch mash comes down to time and texture. You can get a smooth filling either way if you match moisture and measure carefully.
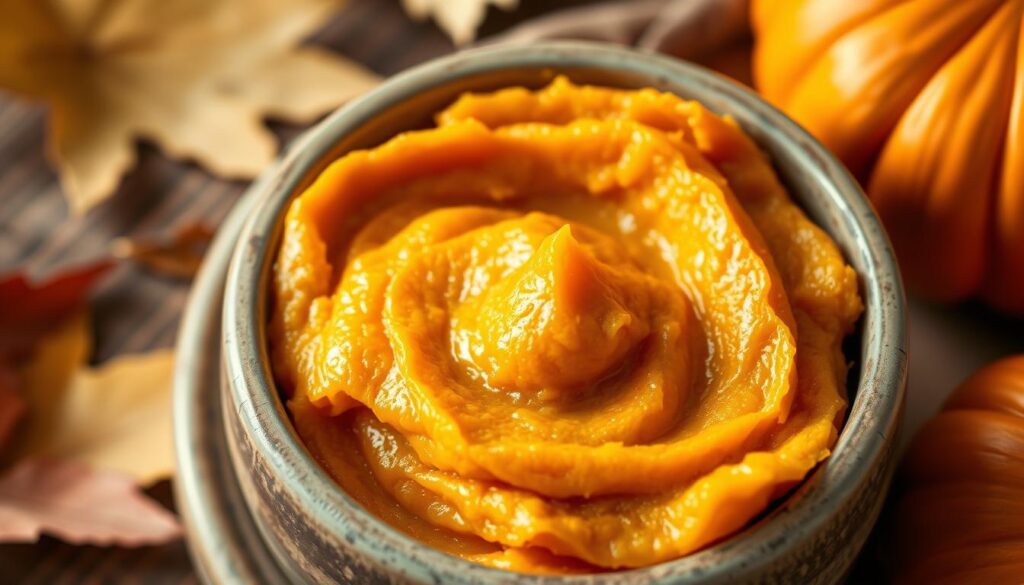
Steaming and Sieving for Smooth Homemade Puree
Steam squash pieces until very tender, then press them through a fine sieve. This removes excess water and gives a velvety texture that mirrors commercial jars.
Measure 1 3/4 cups of puree for the filling so the custard sets reliably in your recipe. Stir ground spices into the warm mash to bloom flavor evenly.
When to Choose Canned Pumpkin for Convenience
Choose canned pumpkin when you need speed and consistency. A labeled can of pure pumpkin delivers a thick base that won’t water down the custard.
You can prepare homemade puree ahead and refrigerate to save time on bake day. Either path yields an excellent pie when you balance moisture, cream, and spice.
- Steam + sieve for control and texture.
- Measure by cup: 1 3/4 cups per filling.
- Pick canned for fast, dependable results.
| Method | Prep Time | Result |
|---|---|---|
| Homemade puree | Longer (steam + sieve) | Smoother control, fresh flavor |
| Canned pumpkin | Short (open and use) | Consistent texture, fast |
| Both | Make ahead | Great final dessert |
Make-Ahead, Storage, and Freezing
Good storage starts the moment the oven timer dings. Follow simple timing and cooling steps so your dessert stays safe and slices neatly.
Room temperature limits and food safety
For egg-rich fillings, do not leave the tart at room temperature more than 2 hours. After that, refrigerate to avoid risk from bacteria and to keep texture steady.
Refrigerating: why overnight improves texture
Let the pie cool completely on a rack before covering. Cooling prevents condensation that can make the crust soggy.
Chill overnight whenever you can. The extra hours let the custard firm so you get cleaner slices and a silkier mouthfeel the next day. Store in the fridge for up to 3 days for best quality.
Freezing: wrap, store, and thaw
To freeze, cool completely, then wrap tightly in plastic wrap and foil. Freeze up to 1 month. An aluminum pie pan speeds chilling and cuts thermal shock when you bake to freeze.
Thaw overnight in the refrigerator. Do not add whipped cream before freezing; attach fresh cream after thawing. Label and date the package so you track storage time.
| Storage Method | Max Time | Key Step |
|---|---|---|
| Room temperature | 2 hours | Keep covered and move to fridge after 2 hours |
| Refrigerator | Up to 3 days | Cool completely, then wrap loosely to avoid sweating |
| Freezer | Up to 1 month | Wrap plastic + foil; thaw in fridge overnight |
| Reheating slices | Short reheats | Shield crust edge to avoid overbrowning |
Serving Suggestions and Simple Variations
Finish each slice with a simple topping to lift the custard and add a fresh contrast. Small touches sharpen flavor and help your slices look bakery-ready.
Homemade whipped cream with a touch of cinnamon
Whip cold cream with a spoon of sugar and a splash of vanilla until soft peaks form. Dollop or pipe rosettes around the edge to hide tiny flaws and add polish.
Dust each slice lightly with ground cinnamon for aroma. Add a pinch of salt to the cream to brighten flavors.
Spice tweaks and crust swaps
If you want more warmth, add a bit of extra ginger or a measured pumpkin pie spice to the filling. Swap the standard crust for a graham cracker or nut crust for a toasty contrast.
Tapping out bubbles before baking and chilling the tart fully improves slicing and appearance. Serve slices well-chilled or at cool room temperature to suit your preference.
| Serving Option | When to Use | Effect |
|---|---|---|
| Whipped cream + cinnamon | Classic finish | Light, creamy balance; aromatic top |
| Graham cracker crust | Casual or nutty preference | Toasty sweetness; firmer rim |
| Extra ginger or cloves | Stronger spice profile | Warmer, bolder filling flavor |
| Caramel drizzle or crushed pecans | Special occasion | Richer mouthfeel; added texture |
Conclusion
Use measured ingredients and tactile cues to turn pantry staples into a rich, comforting holiday staple. This reliable recipe uses one 15-ounce can (or 1 3/4 cups homemade puree), heavy cream, white and brown sugar, and warm spices for a silky pumpkin pie filling.
Add eggs last, tap out bubbles, and bake with the two-stage temperature trick or a gentler single setting to limit cracks. Remove when the center still jiggles, then cool completely and refrigerate for hours so slices hold their shape.
Choose a flaky homemade pie crust or a store-bought shell to match your time and skill. Store the finished tart in the fridge for up to three days or wrap and freeze for one month to enjoy later.