
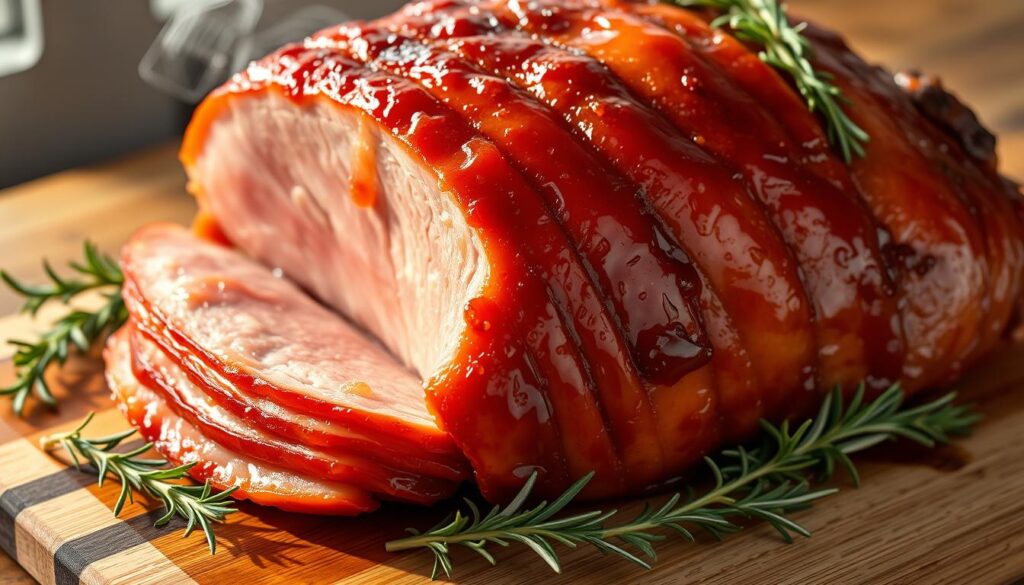
You’ve stood over an oven while the house filled with sweet, tangy steam. You knew this would be the centerpiece people remember. This recipe yields about 18 servings and took roughly 20 minutes to prep and three hours to cook the last time you made it.
You’ll start with a fully cooked, bone-in ham and warm it gently according to package directions. You’ll tent the meat with foil, then baste with a simple glaze of brown sugar, mustard, and apple cider vinegar — sometimes with a splash of cola or apricot jam — applied in 20-minute intervals near the end for a glossy finish.
This approach keeps the meat tender and the carving neat. It’s a straightforward holiday or weeknight dinner plan that balances sweet and bright flavor. Rest the ham 15–20 minutes before slicing so juices settle, then serve warm and enjoy the easy leftovers for sandwiches or soups.
Why This Glazed Ham Recipe Works for Holidays and Weeknights
With predictable heat and a short glaze window, this method fits both big celebrations and quick weeknight dinners. You start with a fully cooked, smoked cut and focus on gentle heating to 140°F rather than long cooking.
Keep the roast covered with a foil tent to lock in steam and moisture while it warms. Plan about 12–15 minutes per pound as a guideline, then use a thermometer for accuracy.
- Uncover only in the last phase, brushing the glaze every 20 minutes so sugars caramelize without burning.
- Reduce the glaze slightly so it sticks and gives a shiny finish to the baked ham.
- This rhythm frees up minutes for sides and set-up, making the timing reliable for holiday or nightly service.
| Occasion | Plan (minutes per pound) | Glazing |
|---|---|---|
| Holiday | 12–15 | Brush every 20 minutes at end |
| Weeknight | 12–15 | Shorter glaze, same rhythm |
| Tip | Use a thermometer | Cover, heat, unveil, glaze, rest |
Glazed Ham: Choosing the Best Cut and Style
The cut you buy determines how the roast behaves in the oven and how it looks on the platter. Choose a fully cooked, bone-in ham for juiciness and simple carving along the bone. That ensures even heat during roasting and tidy slices at service.
Spiral-cut hams offer convenience and uniform slices, but an uncut bone-in ham stays moister and lets you control slice thickness. Look at the fat cap: a thicker layer bakes to a glossy crust and holds studded cloves in place.
- The shank end gives an elegant, elongated presentation and straightforward carving.
- The butt end tends to have more marbling and richer flavor for thicker slices.
- Confirm the label says fully cooked or ready-to-eat; avoid raw gammon unless you plan a different method.
- Half legs fit most ovens and are easier to handle while still serving a crowd.
| Cut | Best For | Notes |
|---|---|---|
| Bone-in | Moisture & carving | Good for baked ham and display |
| Spiral-cut | Quick serving | Less control over slice thickness |
| Shank vs Butt | Presentation vs richness | Choose by carving plan |
Ingredients That Deliver Sweet, Tangy, Glossy Perfection
Simple pantry staples create a lacquered finish that feels special without fuss. Use a short list of ingredients to build balance: brown sugar, mustard, and a bright vinegar anchor the sweetness so it never becomes cloying.
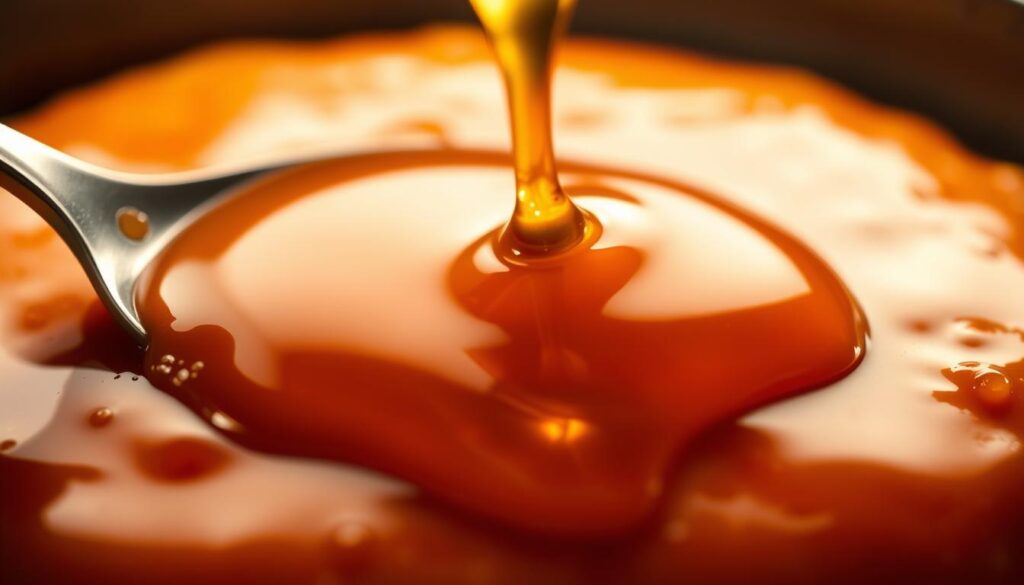
Brown sugar, Dijon mustard, and apple cider vinegar for balance
A classic mix used 3 cups brown sugar, 1/2 cup dijon mustard, and 3 tablespoons apple cider vinegar. The sugar caramelizes while the mustard adds depth and cut.
Apricot jam or soda: choosing your glaze base
Apricot jam (about 1 1/2 cups) with dijon mustard, brown sugar, and a splash of vinegar makes a sticky, fruity glaze. Alternatively, one can of cola reduces into a syrupy lacquer when simmered until thick.
Cloves and aromatics: optional, traditional, and how much to use
Stud cloves into scored diamonds for a classic look, or skip them if you prefer a cleaner profile. A pinch of grated ginger or a bit of white wine vinegar will add subtle complexity.
- Heat the glaze in a saucepan to a gentle bubble and reduce 15–20 minutes until syrupy.
- You can mix this ahead up to two days; refrigerate and rewarm before basting your ham.
| Base | Flavor | Best Use |
|---|---|---|
| Classic (brown sugar) | Sweet, smoky | Universal, glossy finish |
| Apricot jam | Fruity, sticky | Elegant, sticky crust |
| Cola | Caramelized, lacquer | Deep shine, quick reduction |
Prep and Equipment: Set Yourself Up for Success
Start smart: the right setup saves time and keeps juices locked in. Take a few minutes to arrange racks, tools, and the work surface so roasting feels simple and predictable.
Preheat oven to 325°F and position racks
Preheat oven to 325°F and set the rack in the lower third to fit a tall roasting pan. Confirm the pan clears the heating element so air can circulate evenly around the roast.
Score the fat and stud with cloves
Pat the ham dry and remove any rind, leaving a thin fat cap. Score shallow diamonds across the fat so it renders without sliding.
Press a clove into the center of several diamonds to add aroma and keep the fat in place.
Foil tenting, rack placement, and adding water to the pan
Place ham on a rack set inside a sturdy roasting pan so juices drip away and heat moves under the meat. Pour about 1 cup of water into the pan to create steam and prevent scorching.
Loose tenting with foil will cover ham during the initial heating phase and preserve moisture. Let the roast sit about an hour at room temperature before you place it in the oven for more even roasting.
- Verify pan size and oven clearance for taller cuts.
- Gather a basting brush or spoon and a heatproof saucepan for glaze work.
- Set out a carving board, sharp knife, and serving platter before the roast rests.
Step-by-Step: Bake, Glaze, and Caramelize
Begin by bringing the roast up to temperature slowly so the meat heats evenly without drying. This step keeps slices tender and gives you control over surface color during finishing.
Warm covered, then unveil for glazing at intervals
Preheat the oven to 325°F and bake the roast covered with foil. Heat gently for about 1½ to 2 hours so internal temperature rises steadily.
After that initial time, remove the foil and brush on a reduced glaze. Return the roast and repeat glazing every 20 minutes until the exterior is glossy.
Reduce the glaze in a saucepan so it adheres
Simmer the glaze in a saucepan for 15–20 minutes to thicken the sugar and concentrate flavor. Thickened glaze will cling instead of running off when you baste.
Finish with higher heat for a lacquered crust
For the final 10–15 minutes, increase oven heat to about 425°F to caramelize the surface without burning. Watch for hot spots and shield any over-darkening areas with foil.
- Baste with pan juices as needed; add a splash of water if the pan runs dry.
- Track minutes and use a thermometer; aim for 140°F in the center for a safe, fully cooked result.
- Rest the roast 15–20 minutes before carving so juices redistribute for neat, moist slices.
| Phase | Time | Temp |
|---|---|---|
| Warm covered | 90–120 minutes | 325°F |
| Glazing cycles | Every 20 minutes (repeat) | 325°F |
| Final caramelize | 10–15 minutes | 425°F |
Time and Temperature: Get Perfect Results Every Time
Timing and temperature are the two things that make or break a perfect roast. Use weight as your schedule anchor so other dishes fall into place.
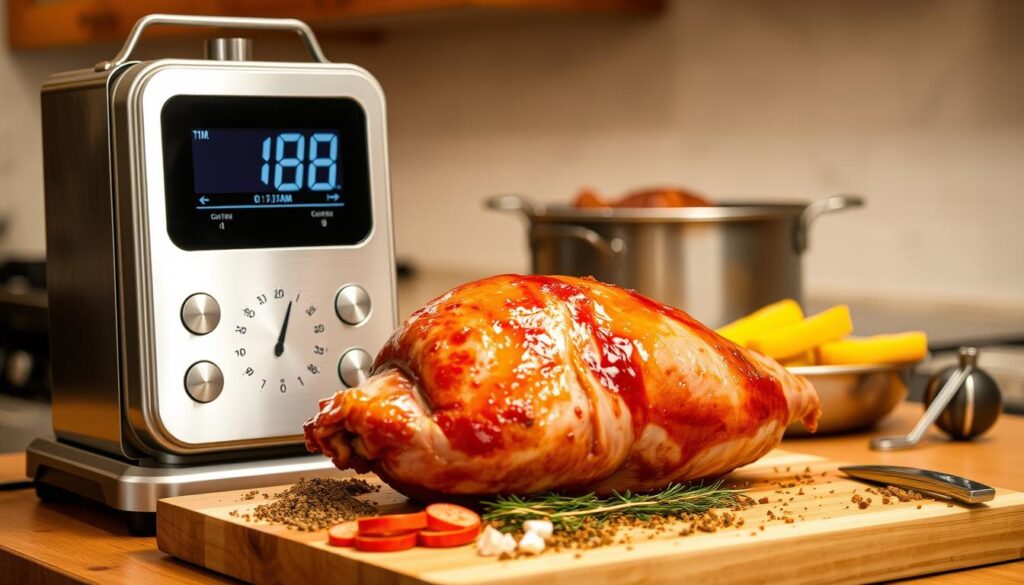
Plan by minutes per pound and monitor internal heat
For a bone-in, fully cooked ham, plan about 12–15 minutes per pound at 325°F with a loose foil tent. That rule helps you estimate total hours and glazing windows.
Place the roast cut side down on a rack in a roasting pan so heat moves evenly and juices collect below. Let the meat sit at room temperature about an hour before it goes in; this short rest evens heating.
- Set 325°F as your baseline unless the package gives different guidance.
- Aim for 140°F internal for fully cooked hams (160°F for “cook before eating” labels).
- Watch the thermometer near the end and reserve a brief high-heat finish to set the glaze without overcooking.
- Plan a 15–20 minute rest after the oven before carving so juices settle.
| Factor | Guideline | Why it matters |
|---|---|---|
| Minutes per pound | 12–15 | Predictable schedule for glazing |
| Oven temp | 325°F | Gentle heat keeps slices moist |
| Target temp | 140°F (fully cooked) | Safe, juicy center |
Carving, Serving, and Side Dishes That Shine
When you follow the bone, each slice comes away clean and keeps its juices. Position the roast on a sturdy board with the bone pointing away from you.
Use a sharp carving knife and make long, steady cuts along the bone to free large sections. Then slice across the grain into thin pieces for tender slices that plate nicely.
Carving and presentation tips
- Stabilize the roast, find the bone, and cut smooth lines to release whole sections.
- Saw thinly across the grain for uniform, tender servings.
- Wrap the shank end in parchment and tie with twine; garnish with rosemary for a polished look.
- Carve only what you need at first to keep the remainder warm and moist on the bone.
Side dishes and serving flow
Offer a condiment station with piccalilli, chutney, applesauce, horseradish, onion jam, hot mustard, and warm pan juices. Let guests customize flavor at the table.
| Side | Why it works | Best with |
|---|---|---|
| Potatoes au gratin | Rich, creamy contrast | Sweet-salty baked ham |
| Buttered green beans | Bright, crisp balance | Glazed exterior |
| Warm dinner rolls | Soak up pan juices | Holiday dinner plates |
Leftover Ham: Storage, Freezing, and Next-Day Recipes
Treat leftovers like a second chance to shine: store them right and plan a few quick meals. Proper packing keeps texture and flavor so your work feeds you again.
Short-term and long-term storage
Refrigerate leftover ham in an airtight container for up to three days. Keep slices separate on a plate or wrapped to make reheating easy.
If you want longer storage, wrap portions tightly and freeze for up to one month. Label and date each pack so you use the oldest first.
- Save the bone to simmer into rich stock, pea and ham soup, or hearty stews.
- Reheat slices gently, covered with a splash of water to keep them moist.
- Use thin slices for sandwiches and thicker chunks for casseroles and bakes.
Quick ideas and a planning table
| Storage | Time | Best use |
|---|---|---|
| Fridge (airtight) | Up to 3 days | Sandwiches, quiche |
| Freezer (wrapped) | Up to 1 month | Fried rice, casseroles |
| Bone | Keep 1–2 days or freeze | Stock, soups, stews |
Troubleshooting and Pro Tips for a Show-Stopping Glaze
The last hour is where simple choices prevent scorch and deliver an even, shiny finish. Keep the roast tented with foil until it is nearly at target temperature so sugar won’t burn while the interior heats.
Begin glazing only once the center is mostly warmed through. Apply the reduced glaze and repeat every 20 minutes for efficient, even coverage.
Avoid burning sugars: when to remove foil and when to baste
Uncover for glazing late in the process. This limits direct heat on sugars and lets the glaze thicken without blackening.
Cover hot spots and keep pan juices from drying out
If a spot browns too quickly, shield it with a small foil patch so the rest of the surface can catch up.
Keep a little liquid in the pan; add a splash of water if juices are evaporating to stop drippings from burning.
Use a thermometer to prevent overcooking
Monitor internal temp with an oven-safe thermometer and pull the roast at 140°F for fully cooked cuts. Reserve a short, high-heat finish to set the glaze without scorching.
- Reduce glaze until syrupy so fewer baste passes are needed.
- Apply glaze gently to keep any surface pattern intact.
- Have foil, a basting brush, and hot pads ready to move quickly during each round.
| Problem | Fix | Why it works |
|---|---|---|
| Burning sugar | Keep foil on until final phase | Shields surface from direct heat |
| Dry pan | Add water to pan | Prevents drippings from burning |
| Overcooked center | Use oven thermometer | Pull at 140°F for juiciness |
Conclusion
This straightforward finale ties together the key steps so your roast becomes a repeatable centerpiece.
Preheat oven to 325°F, place the bone-in ham on a rack in a roasting pan, and plan about 12–15 minutes per pound so time and hours stay predictable. Tent with foil, score the fat, stud cloves if you like, and keep about a cup of water in the pan to stop drippings from burning.
Reduce brown sugar and dijon mustard in a saucepan, then glaze in 20-minute intervals and finish briefly at higher heat to set the glaze. Rest 15–20 minutes, carve along the bone into neat slices, and store leftover ham up to three days or freeze slices for later recipes.


kn7tsu